Building the Foundation: Step-by-Step Guide to Installing React
Install Node.js, Create React App, and Start Building!
React, the open-source JavaScript library, empowers you to craft interactive user interfaces (UIs). Build reusable UI components, thanks to its component-based architecture. Open-source nature grants you access, allowing you to modify and enhance it for specific needs.
This guide delves into installing React seamlessly into your project, paving the way for your React development journey.
Power Up Your Web Dev: Install React Like a Pro
Now that you’ve grasped React’s potential, explore how to integrate it into your projects. This practical guide will equip you to leverage its capabilities and build engaging user interfaces.
React Ready? Prepping Your System with Node.js
Before diving into React installation, ensure Node.js graces your machine. This JavaScript runtime environment plays a crucial role, as React code relies on it to execute on the server-side. Think of Node.js as the interpreter, transforming your React code (JavaScript functions) into commands understood by web browsers.
Head to the official Node.js website and snag the latest stable version. This choice prioritises essential bug fixes, security updates, and compatibility with your project’s dependencies.
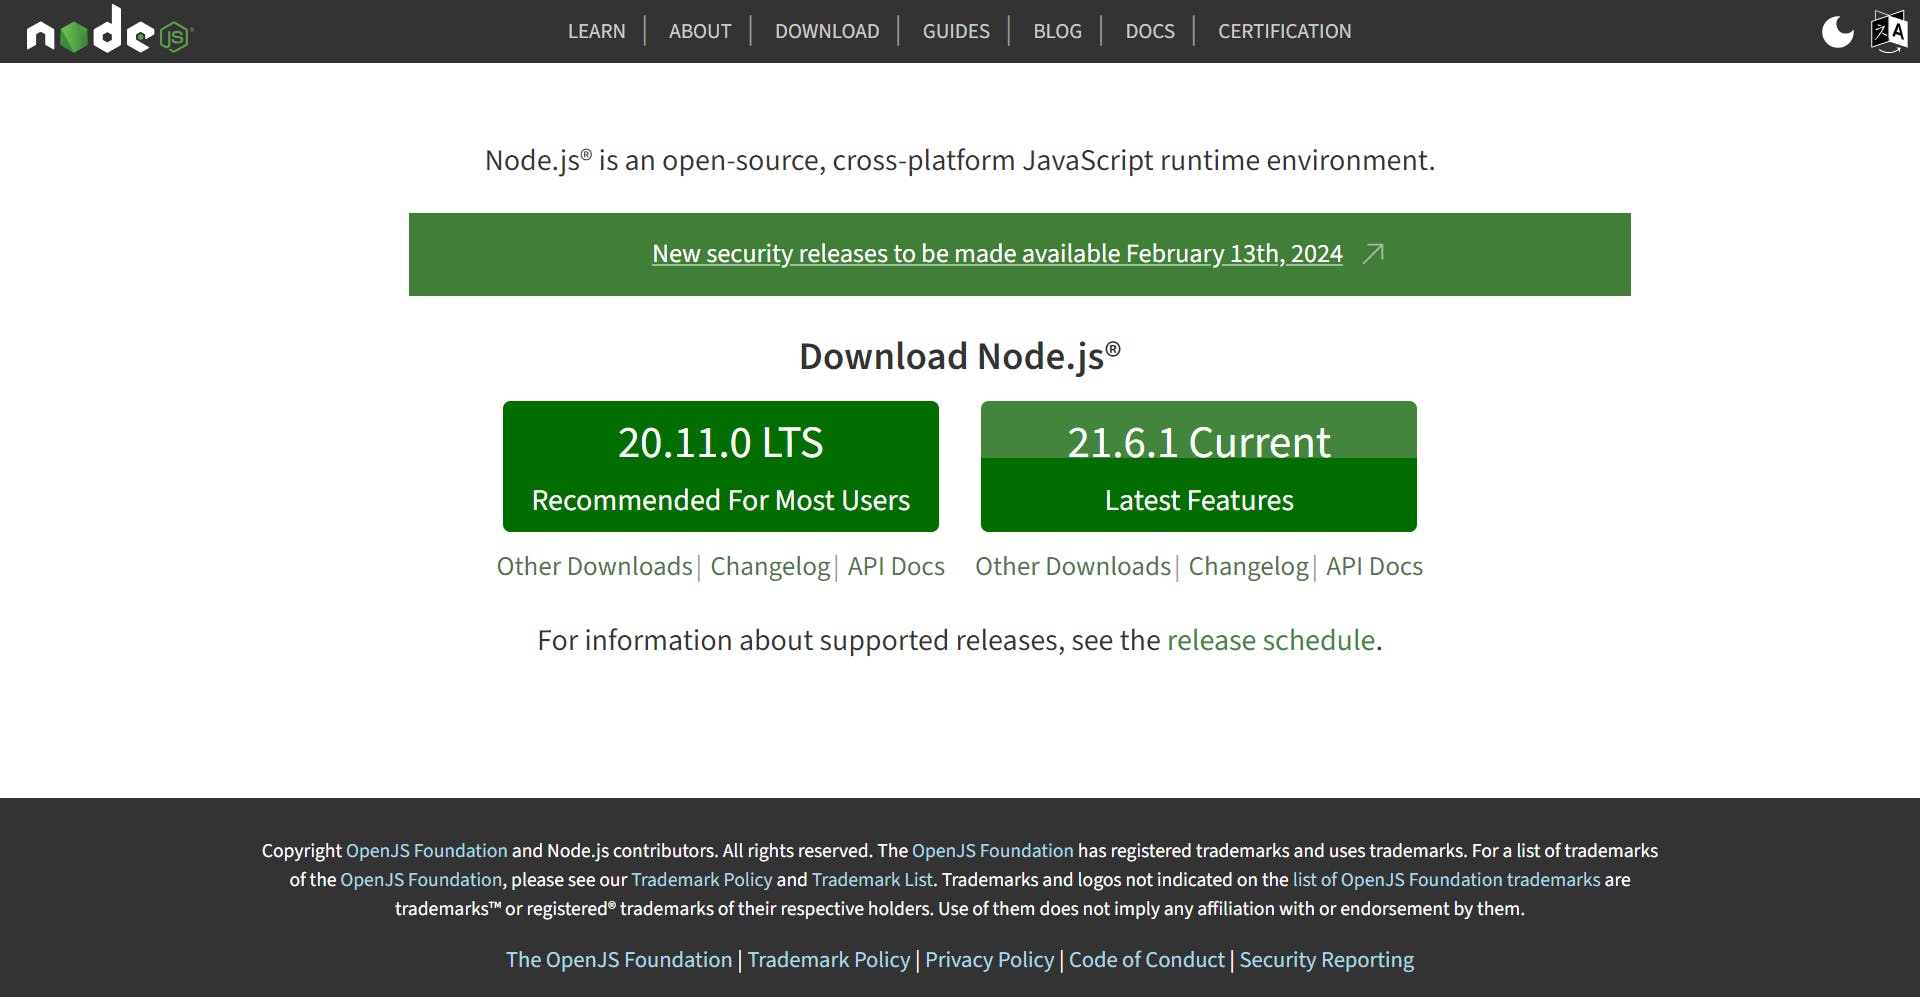
Download and install Node.js, then verify its presence with a simple command in your terminal: node -v. If the current version proudly displays, you’re good to go!

Now, equipped with Node.js, your system is primed for the exciting world of React development.
Dive into React: Traditional vs. Modern Installation Paths
Ready to embed React into your project? We’ll explore both the “classic” create-react-app (CRA) approach and the trendy Vite build tool, empowering you to choose the path that best suits your needs.
CRA Your Way to React: A Quick-Start Guide
Before we dive into installation, let’s prep your workspace. Open your command prompt and navigate to your desired project directory using cd [directory name].

Next, create a dedicated folder for your React app within that directory. Type mkdir [folder name] and then switch to the newly created folder with cd [folder name]. Now, the magic begins! Type npx create-react-app [project name] and watch as your React project unfolds. Soon, you’ll see the confirmation message in your terminal, signifying a successful installation.
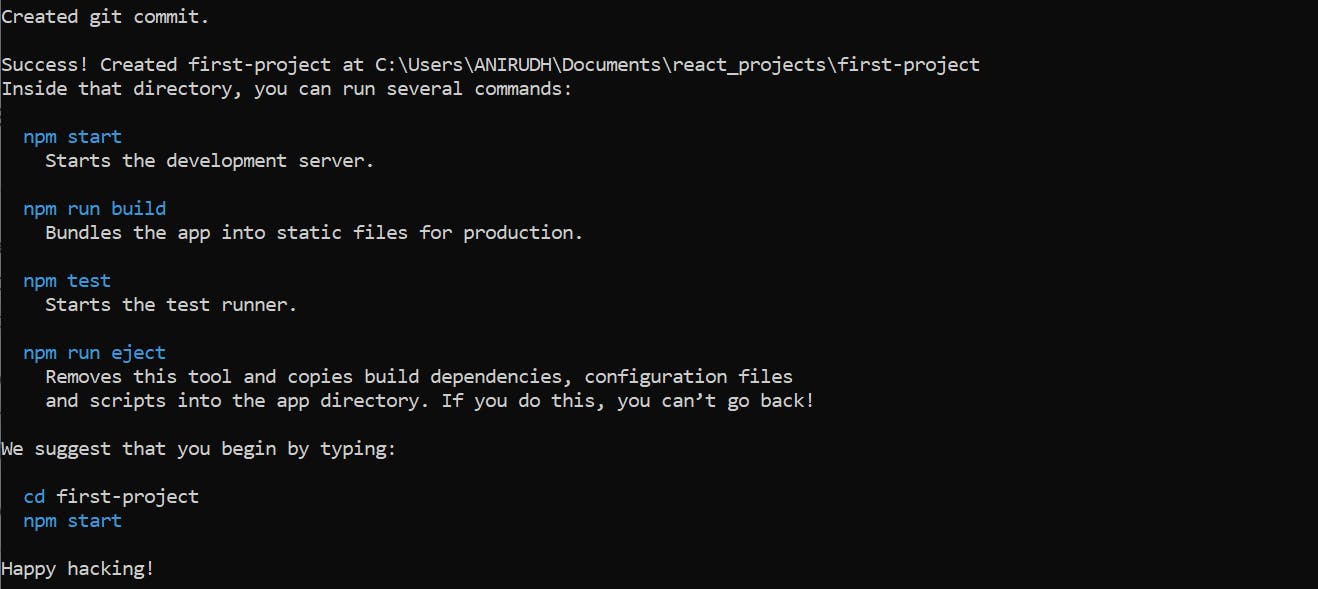
Remember, replace
[directory name]and[folder name]with your chosen names, and[project name]with your desired app title.
With installation complete, let’s navigate your React project using your preferred code editor (like VS Code). Open it with code . and prepare to be greeted by essential components:
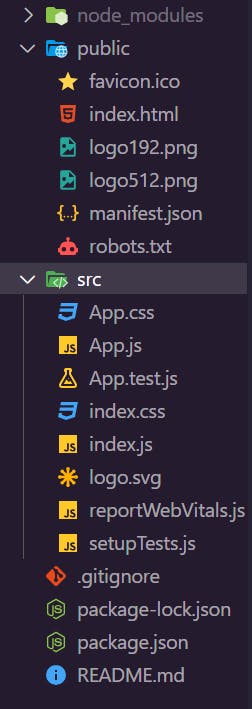
node_modules: This folder houses your React package and any additional packages you install during development. It acts as your project’s design system configuration hub.
src: This is where the magic happens! All your React application’s files and components reside here, including familiar names like
App.js,index.js, andApp.csspackage-lock.json: This file plays a crucial role in dependency management, ensuring consistent versions are used throughout your project.
A Note on CRA’s Status: While we’ve covered the traditional CRA approach, it's important to mention its deprecation. The React team now recommends exploring modern tools like Vite, Snowpack, Gatsby, Next.js, Parcel, and more for a faster and smoother front-end development experience.
The next section explores a modern alternative to CRA: the Vite build tool. Get ready to install React seamlessly and experience the benefits of faster development workflows.
Beyond CRA: Installing React with Vite for Modern Development
Moving beyond the traditional CRA approach, we’ll delve into Vite, a modern build tool known for its lightning-fast performance and customization. Leverage Vite to create React apps with efficiency and reliability, enjoying features comparable to CRA.
As before, ensure Node.js graces your system. Navigate to your desired project directory and create a new folder (name it as you please). Open this fresh folder in your trusty code editor (VS Code in this example).
The provided image showcases the setup you’ll achieve. Remember to replace “Vite_React” with your chosen folder name.

Now, let’s unleash Vite’s power! Open your terminal (between Run and Help as shown). Run the magic command: npm create vite@latest [your project name]. Here, [your project name] is your chosen title. In my case, it’s new-react-vite.
Choosing Your Framework: A prompt appears, asking you to pick your framework. Since we’re working with React, navigate to it with arrow keys and hit Enter.

Language Selection: Next, choose your project’s language. While other options exist, we’ll go with JavaScript for now.

Navigating to Your Project: Finally, switch to your newly created project directory with cd [directory name]. Replace [directory name] with your actual name. That’s it! You’ve set the stage for React development with Vite.
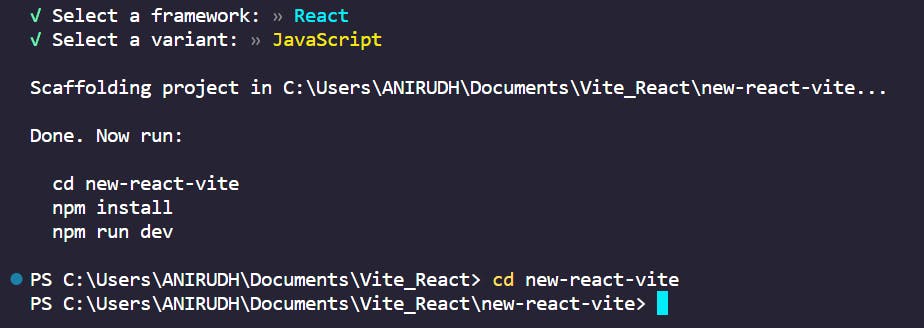
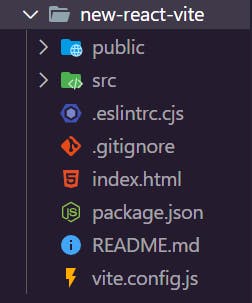
With the previous steps accomplished, witness your very own React files materialise on screen, as seen in the provided image.
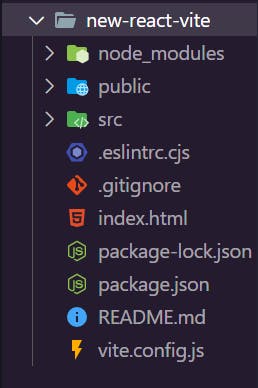
Now, let’s bring in the essential dependencies with npm install. Be patient as this process unfolds. Completion will be marked by the appearance of the node_modules folder at the top.
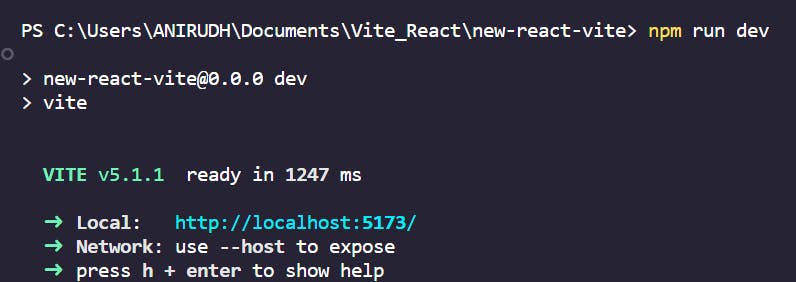
Time to ignite development! Run npm run dev to launch your project on the web. Assuming you followed along precisely, you’ll be greeted by the familiar sight of your localhost URL. Hold Ctrl and click this link to see your creation come alive in the browser.
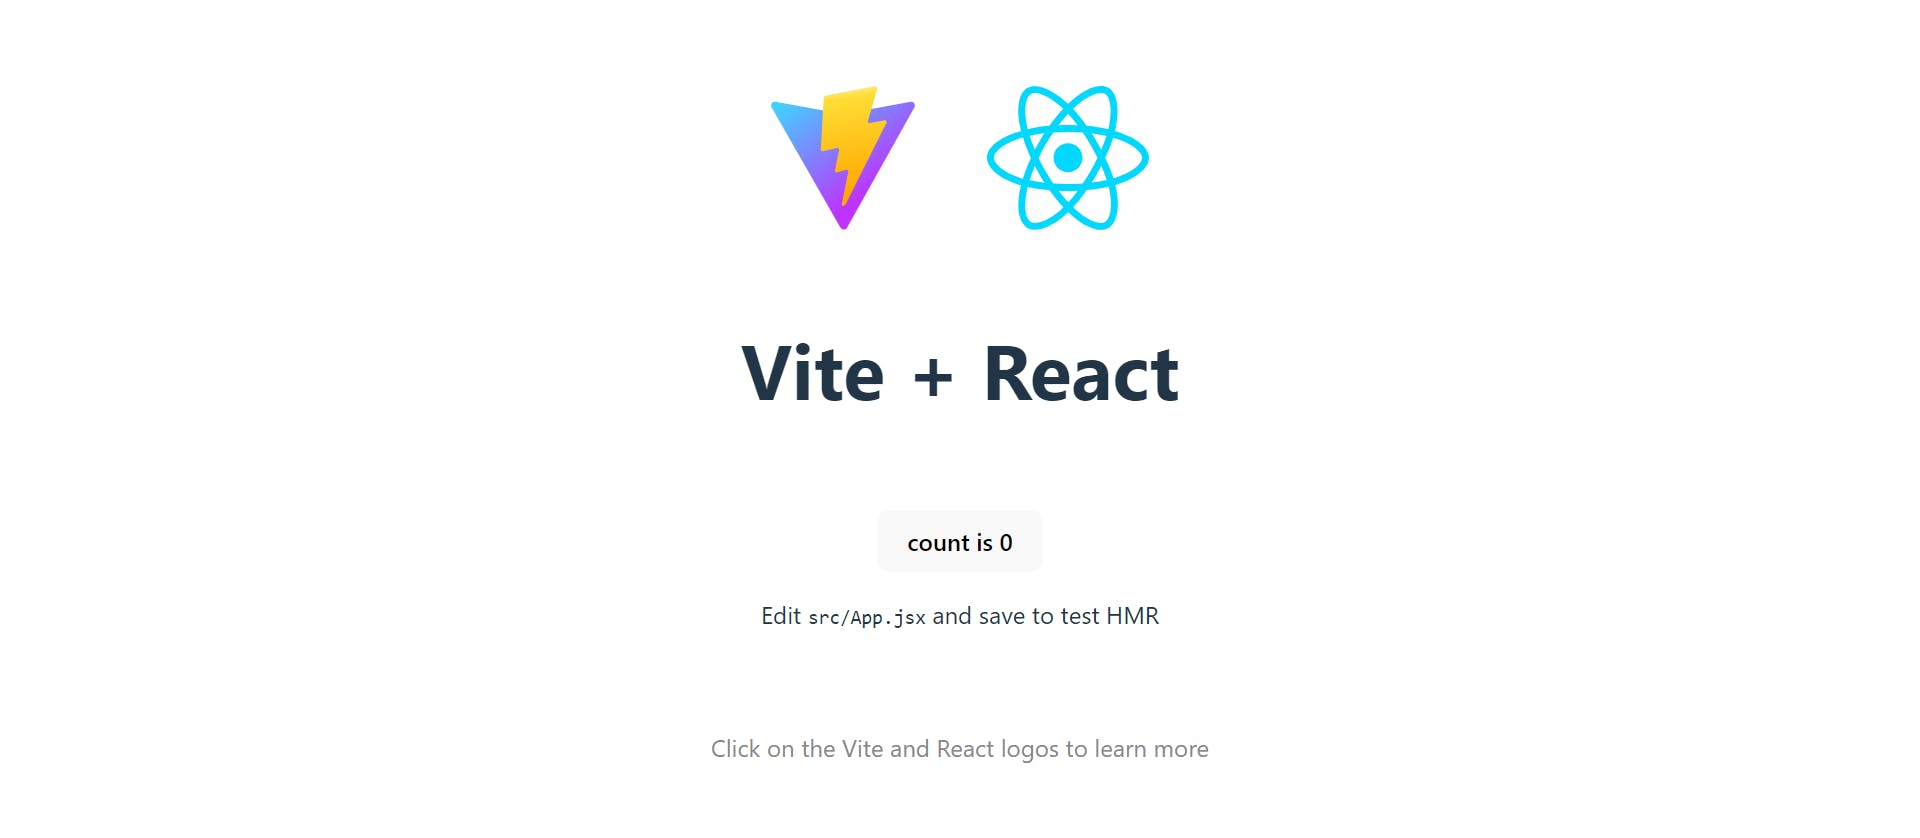
Behold! The final image showcases your successful React installation. Congratulations on taking this momentous step in your React development journey!
Conclusion
Congratulations! You’ve unlocked the exciting potential of React, a powerful open-source library that empowers you to craft captivating and interactive user interfaces (UIs).
Remember, mastering React is a rewarding journey, so don’t hesitate to jump in and explore its possibilities. By following this guide, you’ve equipped yourself with the knowledge to seamlessly install React using modern tools like Vite.
Now, with your development environment prepped, it’s time to unleash your creativity and embark on building amazing applications.
Happy coding!

